All rights reserved © 2018 Leo F. Brady
All rights reserved © 2018 Leo F. Brady

Hi All
Hope you are all well !
This image is just part of some low light testing I was performing with the Canon I own. I shot this at around midnight when it was pouring rain, as you can see.
I am amazed at low light performance of these newer cameras. Click on the image for better detail.
take care
leo
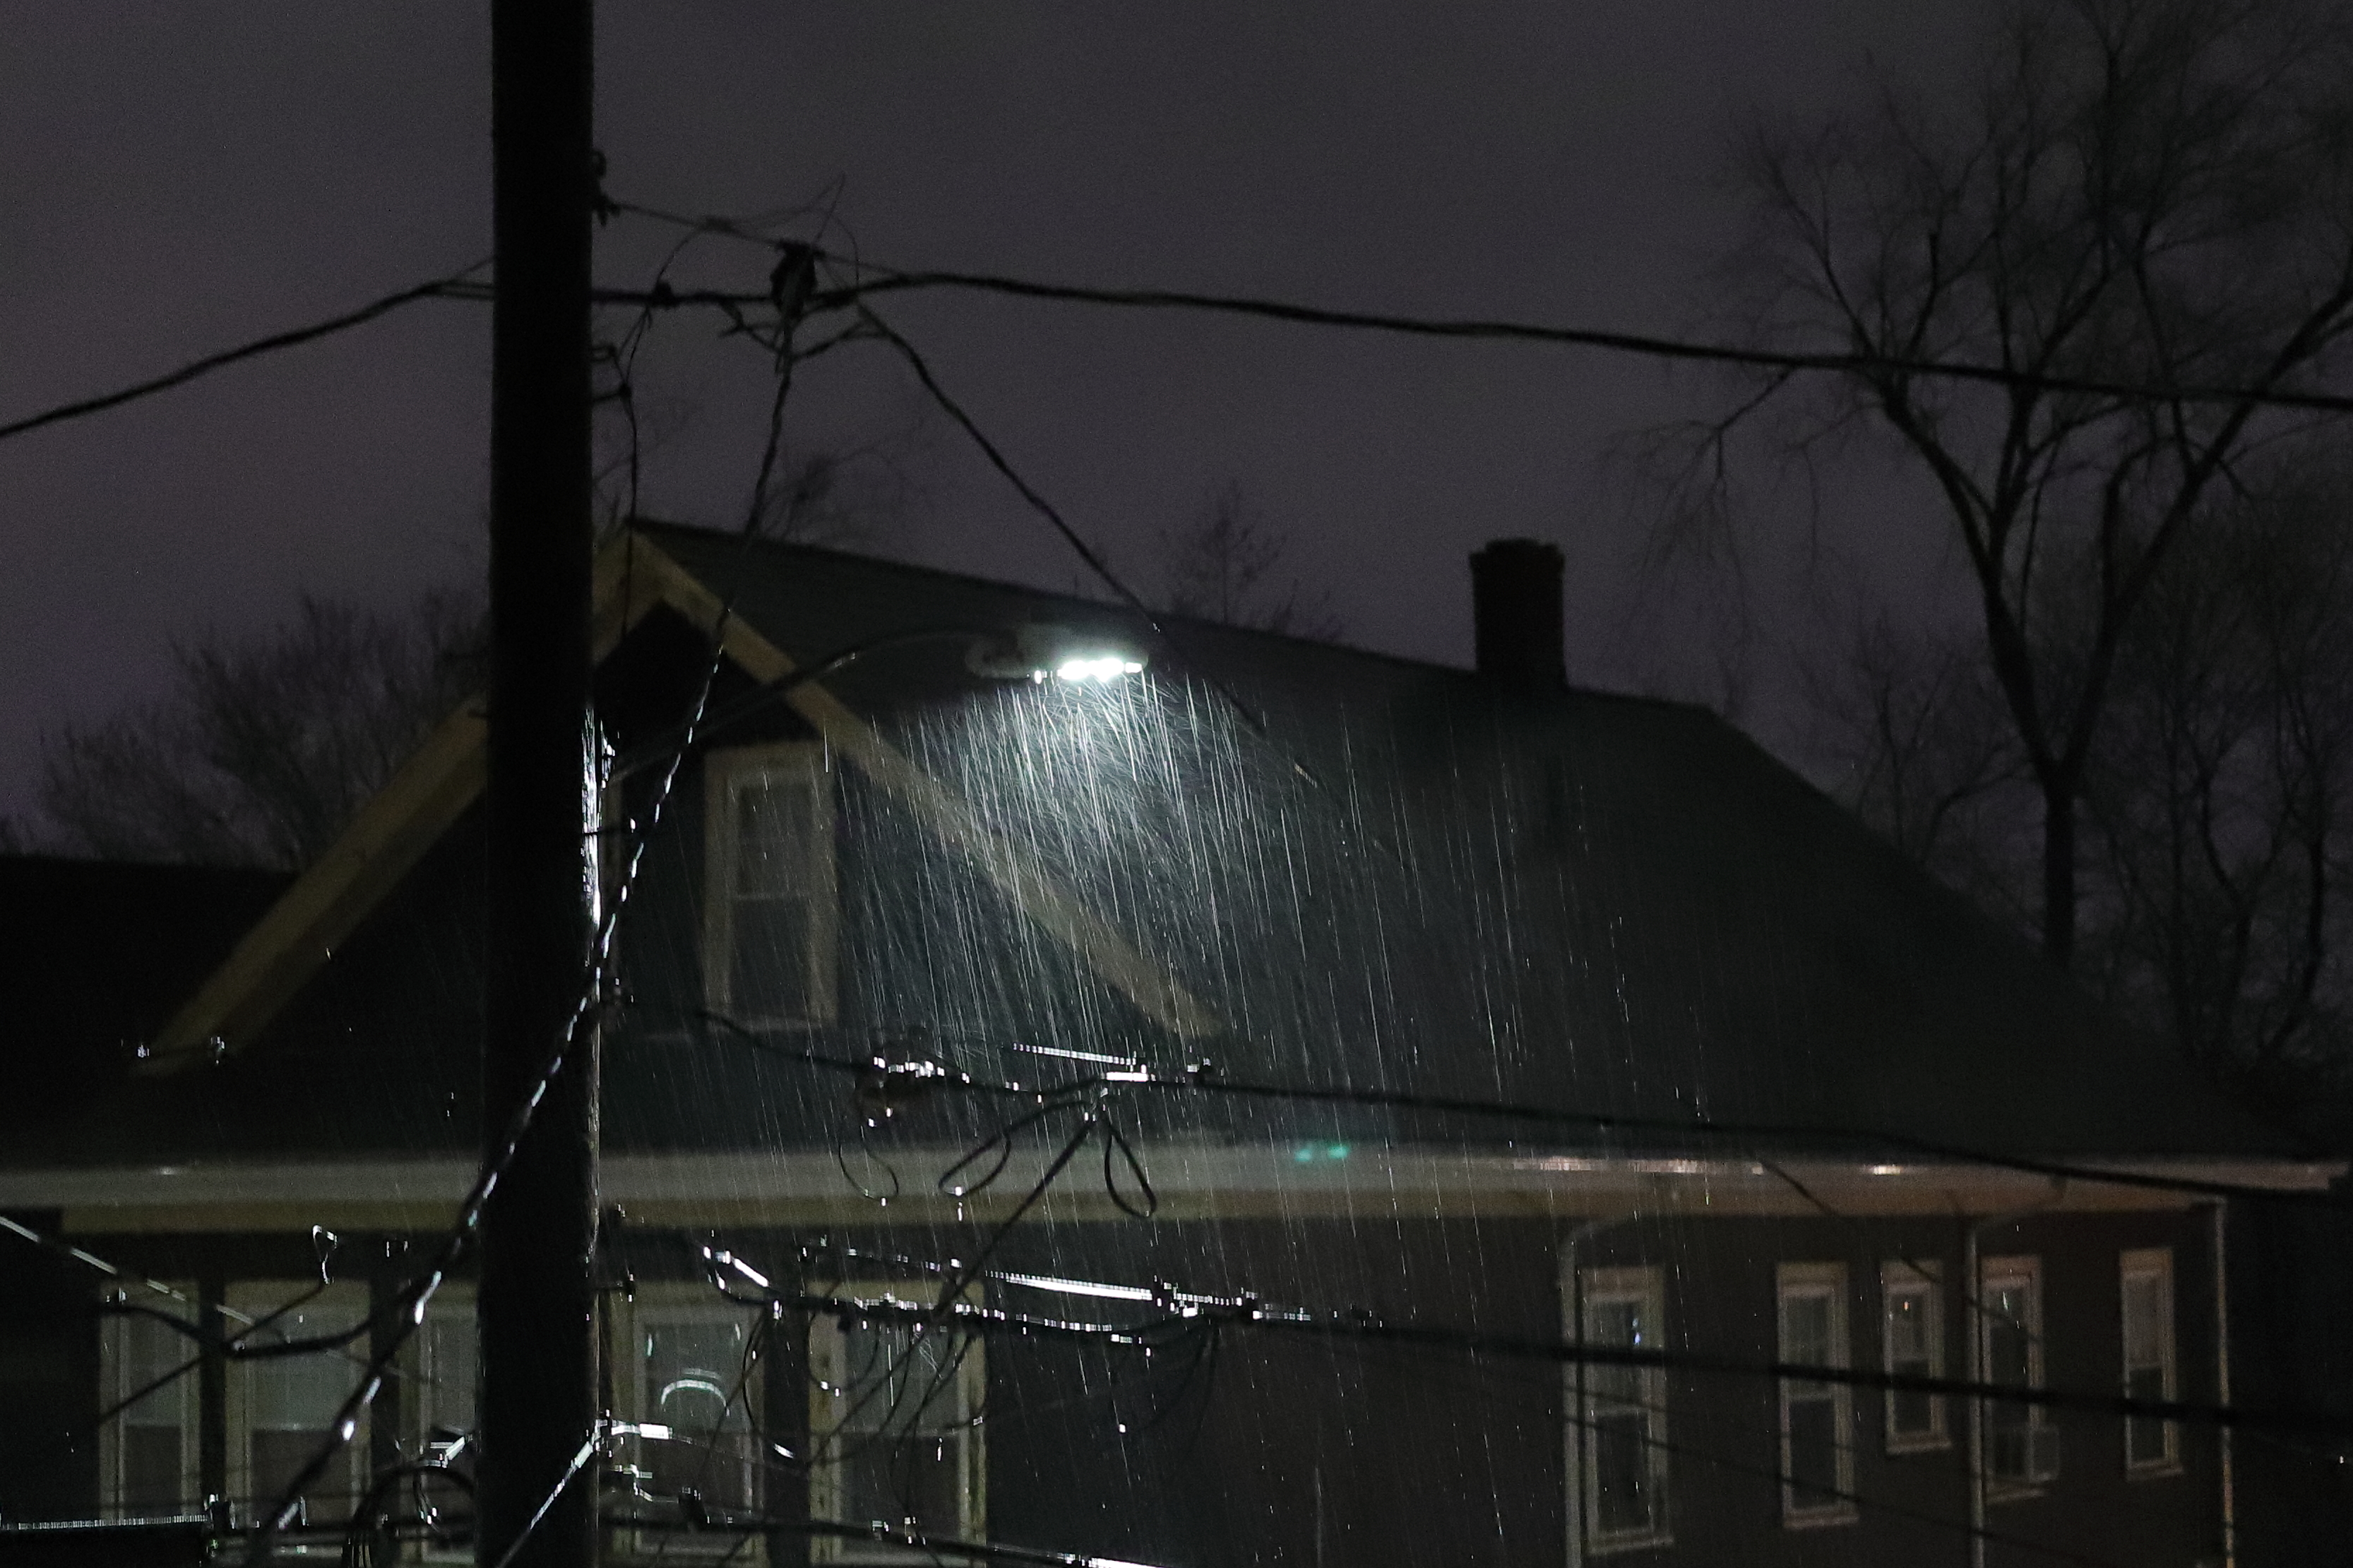
Canon 6D Mark II, Canon 40mm, f/2.8 @ 1/20s
All rights reserved © 2018 Leo F. Brady

Hi All
This is a republish of a post from a few years back but you might enjoy it. Montreal is a wonderful place to visit. I prefer the spring or summer but you hardy folks ….
take care
leo
Recently I traveled from Boston to Montreal for a few days. It’s about a five hour drive by car. I’ve been there a few times now and I’ve always enjoyed myself. The people are friendly, the food is great and there’s much to do. It reminds me of Paris but smaller and a bit more modern. I’m not an expert on either place though.
It was raining over much of the trip, which is very unusual but I still managed to get some lovely images. I also learned something very valuable concerning picture taking in the rain. Unless you have a pro water-sealed camera that you wish to lug around in the rain, carry a small quality camera that you can stick in a coat pocket.
All these images have been minimally processed and all sized down. lb
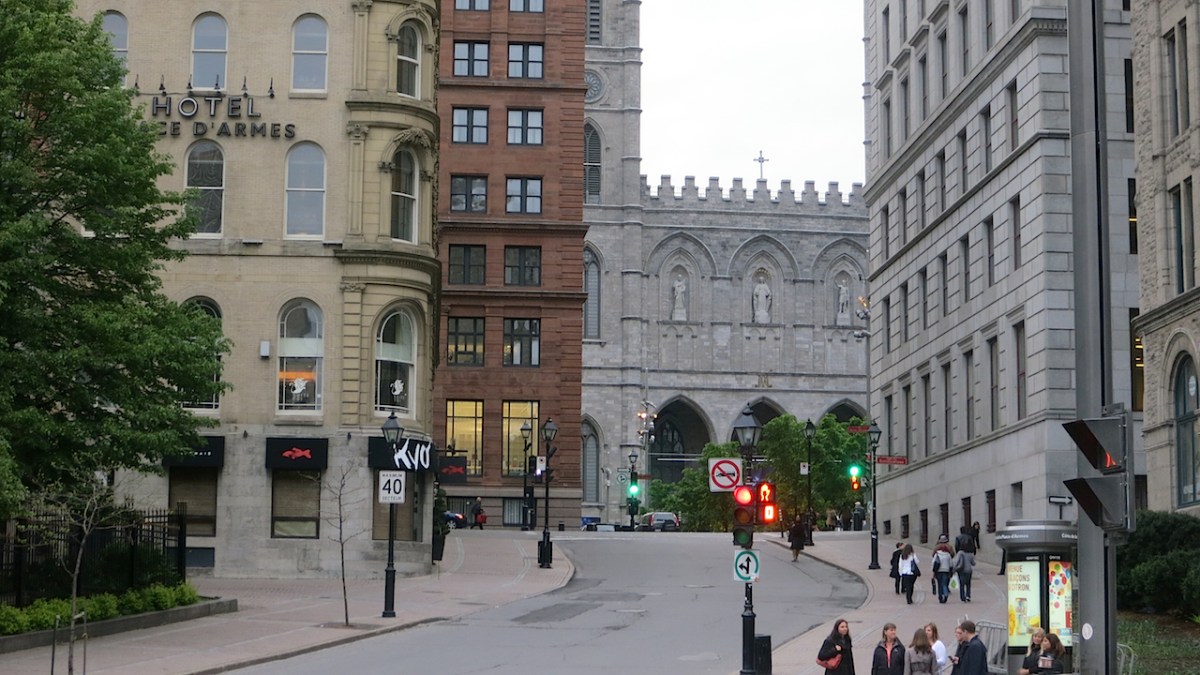
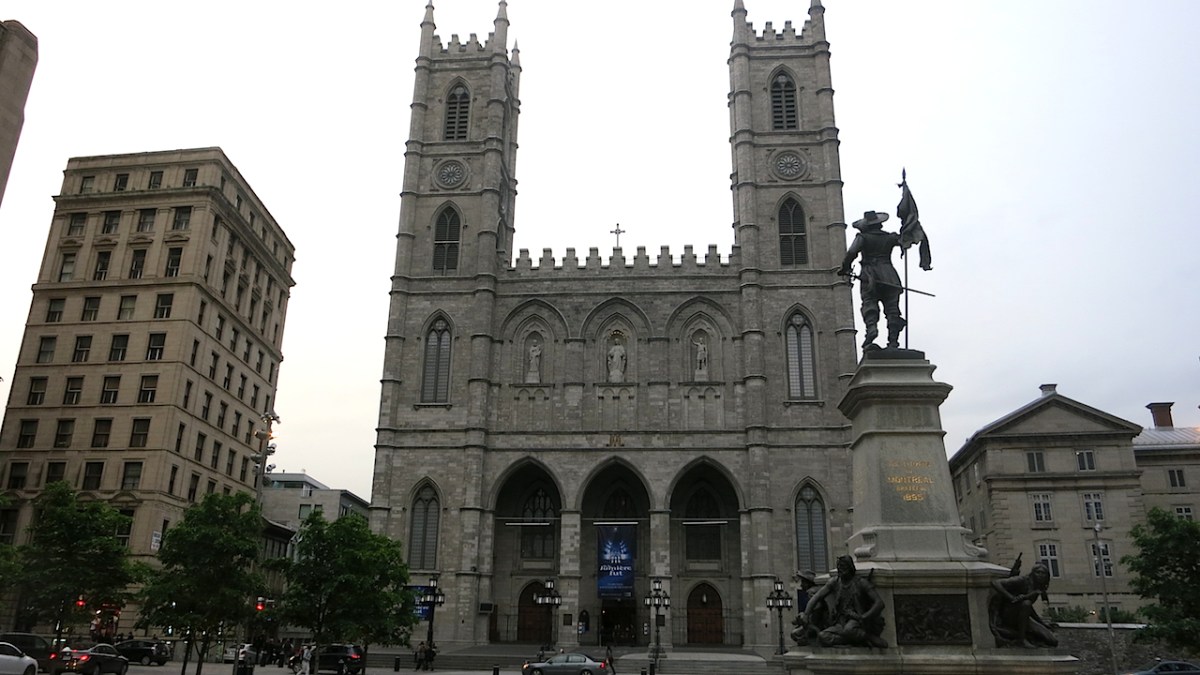
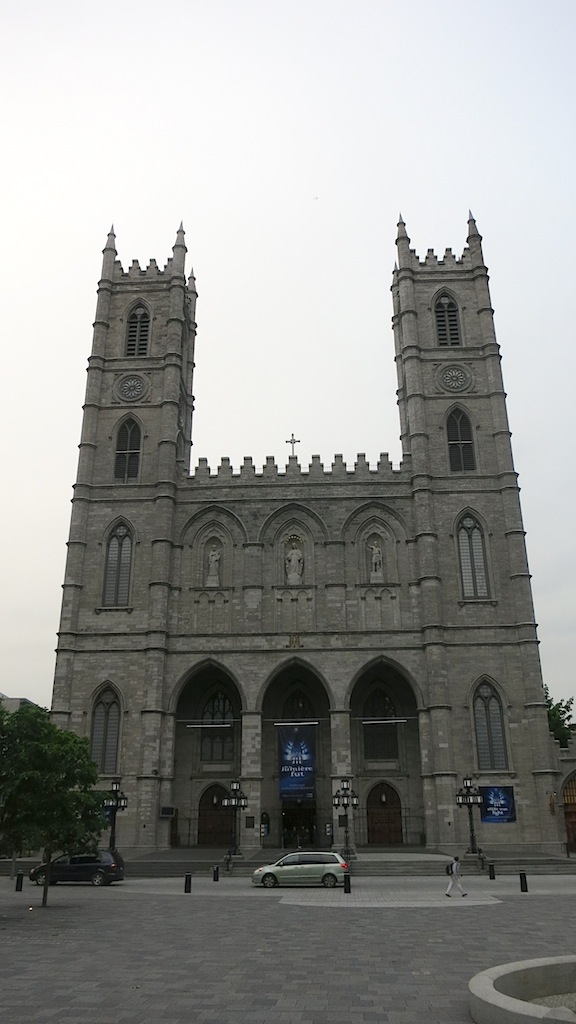
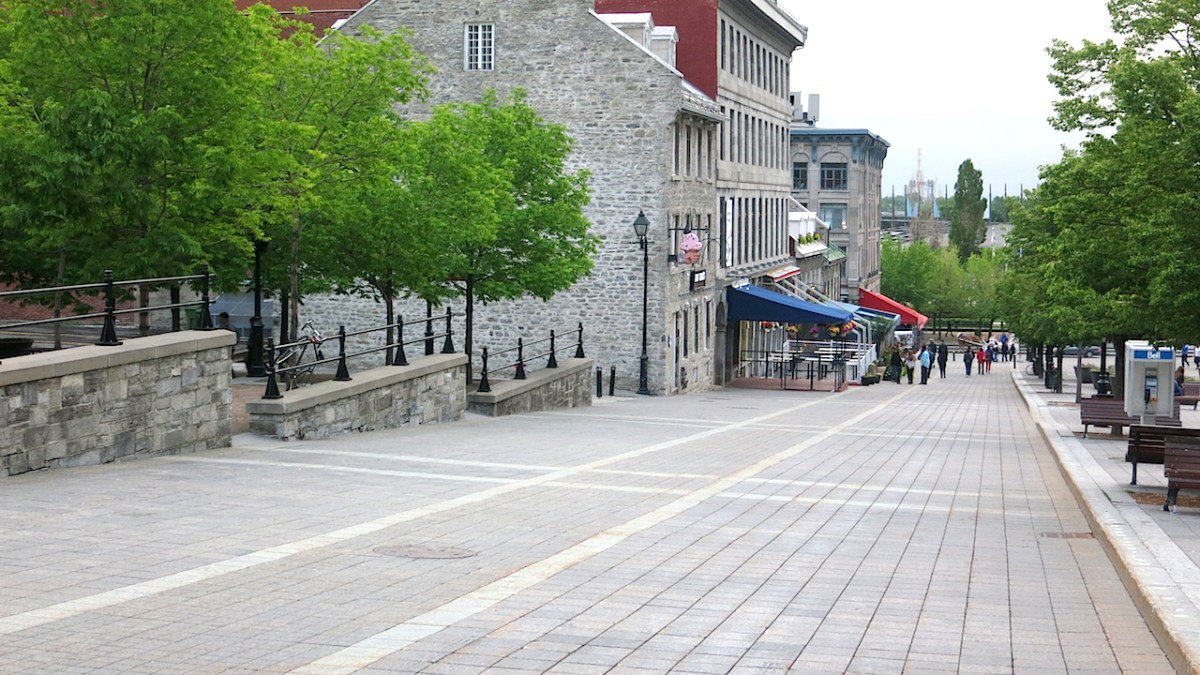
Bonjour Montreal!
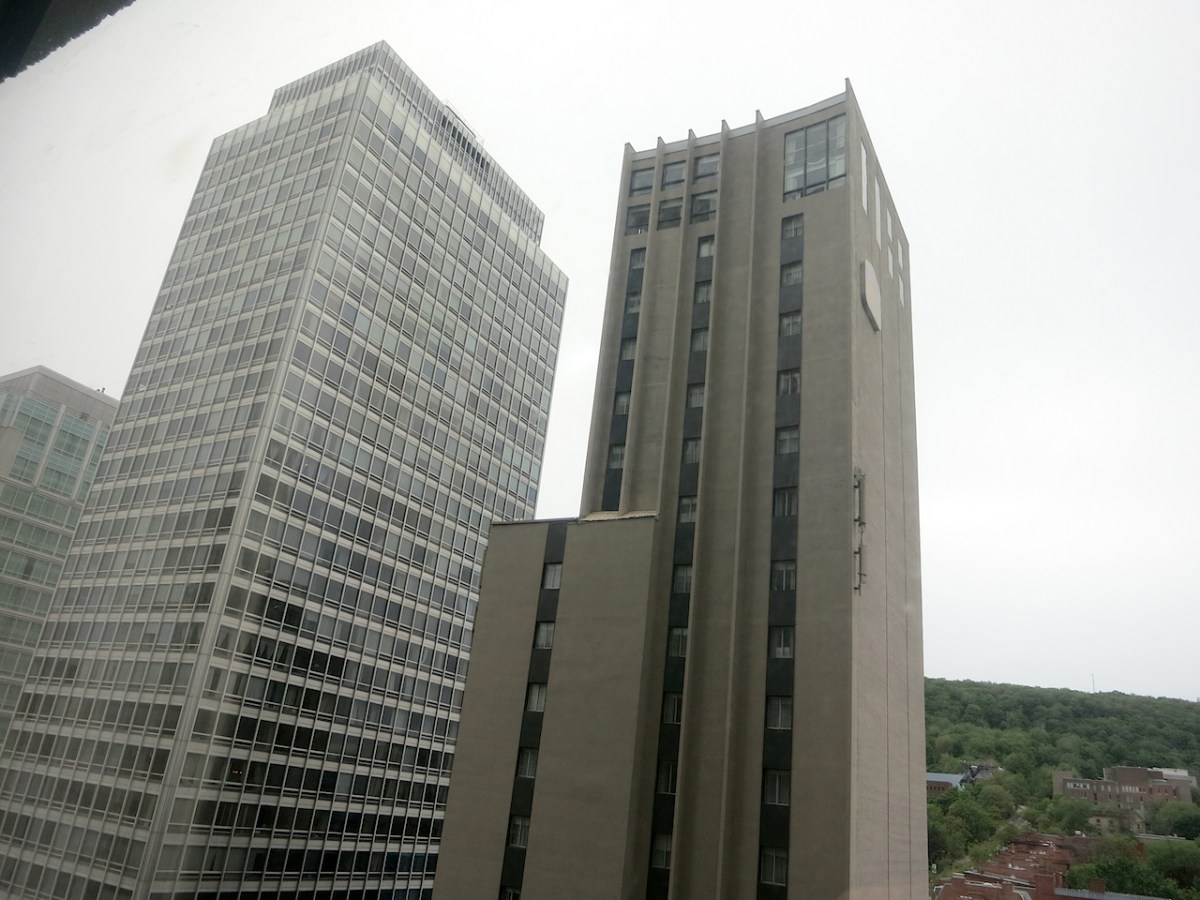
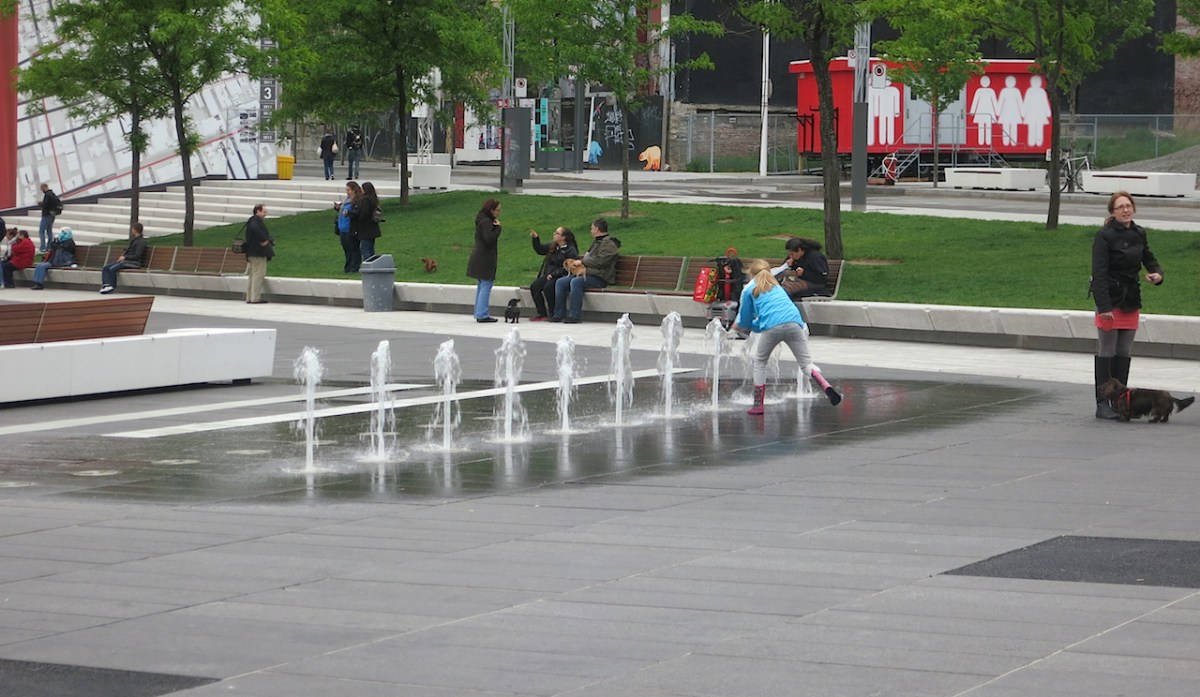
Some views of downtown
 From the Hotel
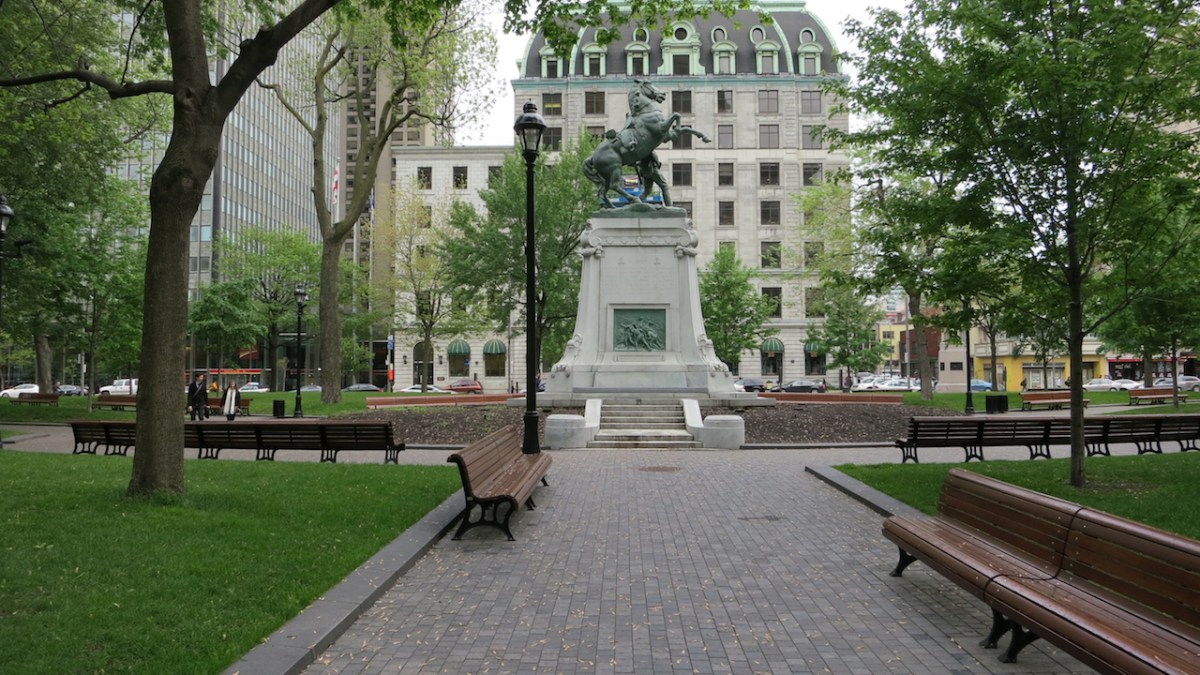 One of the many beautiful little parks downtown

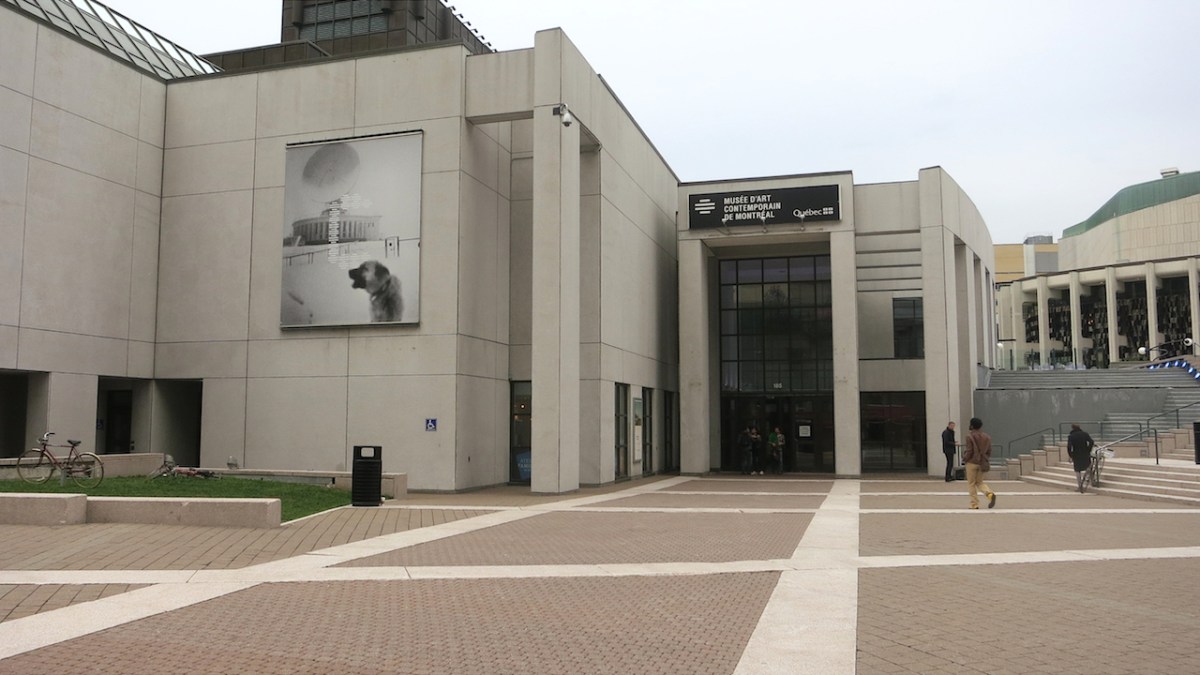
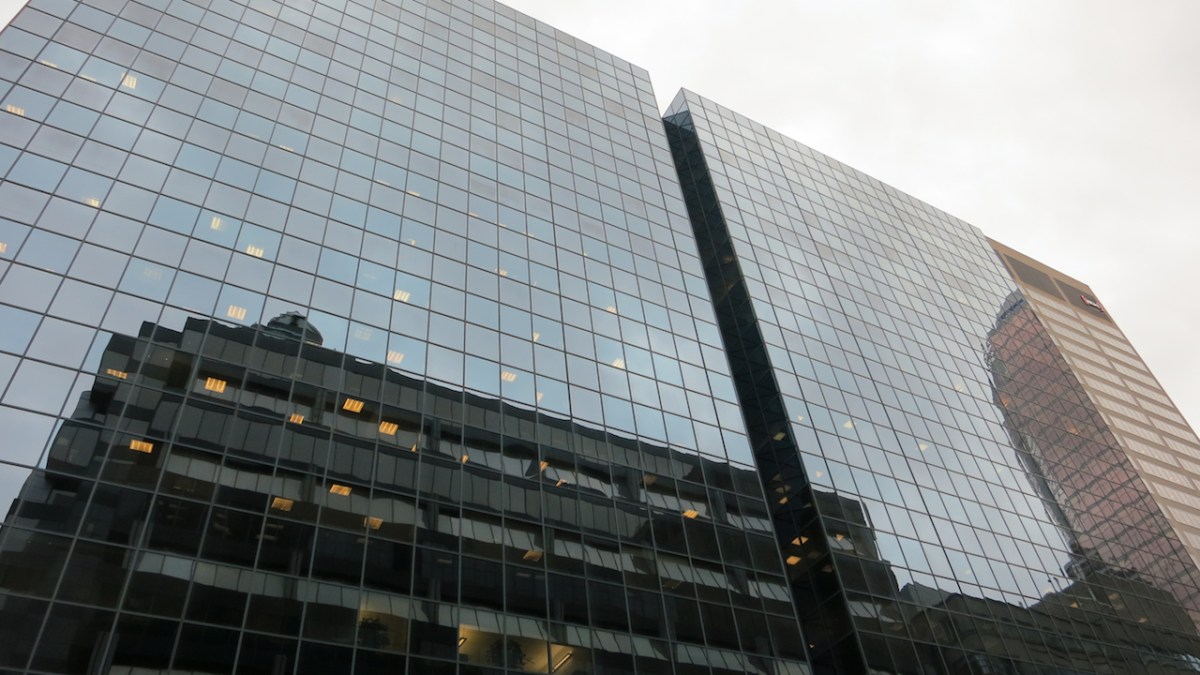 Many modern but elegant buildings
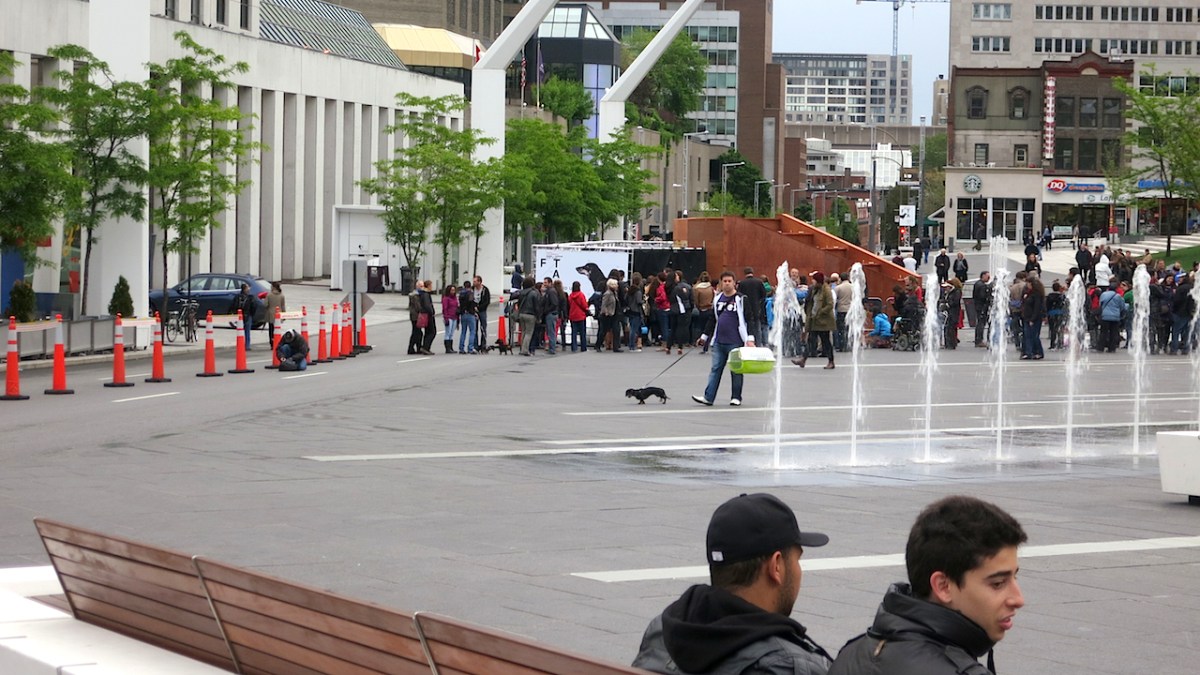
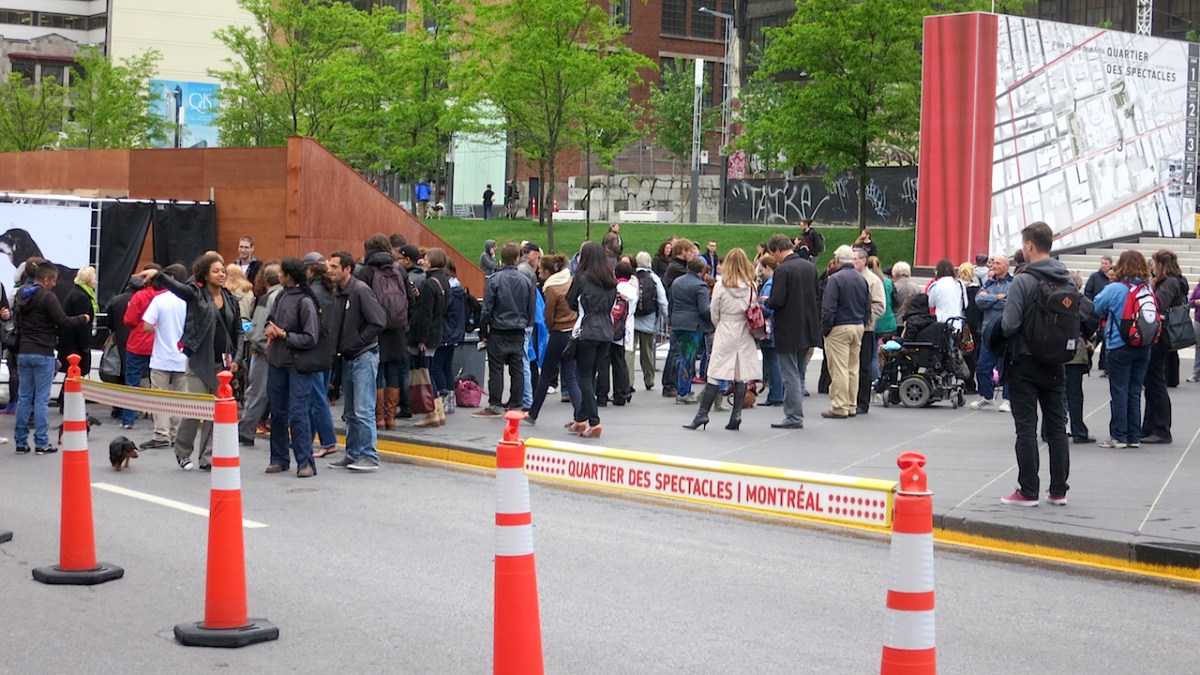
A dog show at the Quartier Des Spectacles
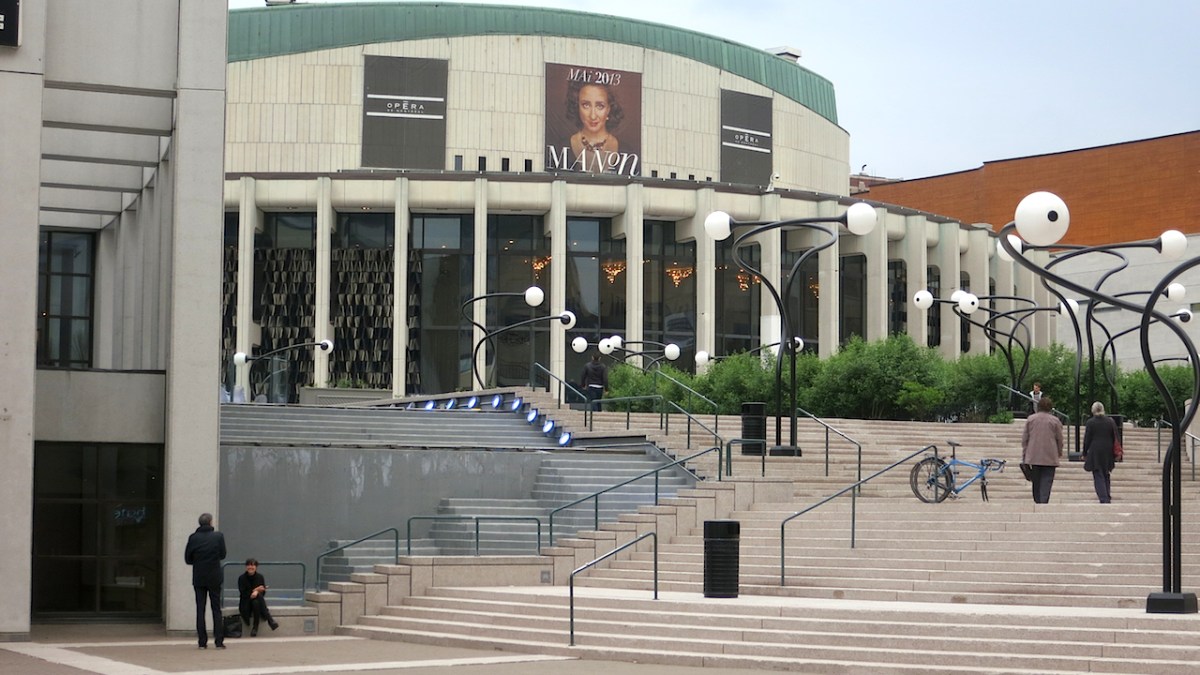
Place des Arts
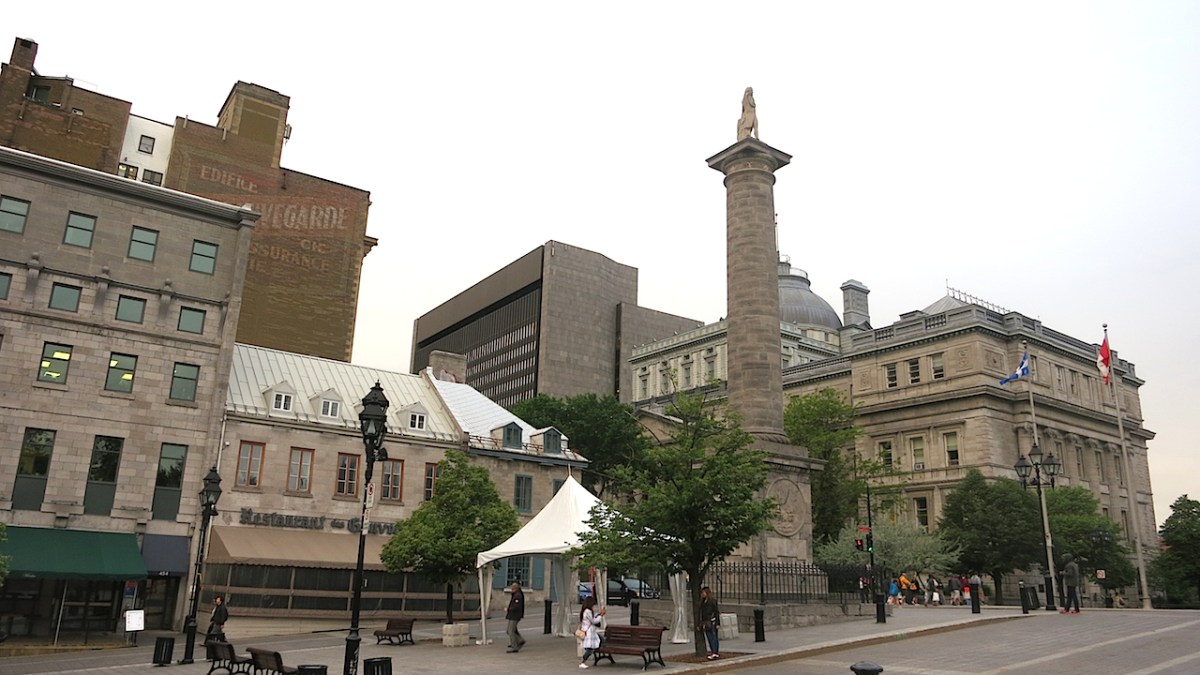
Old Montreal

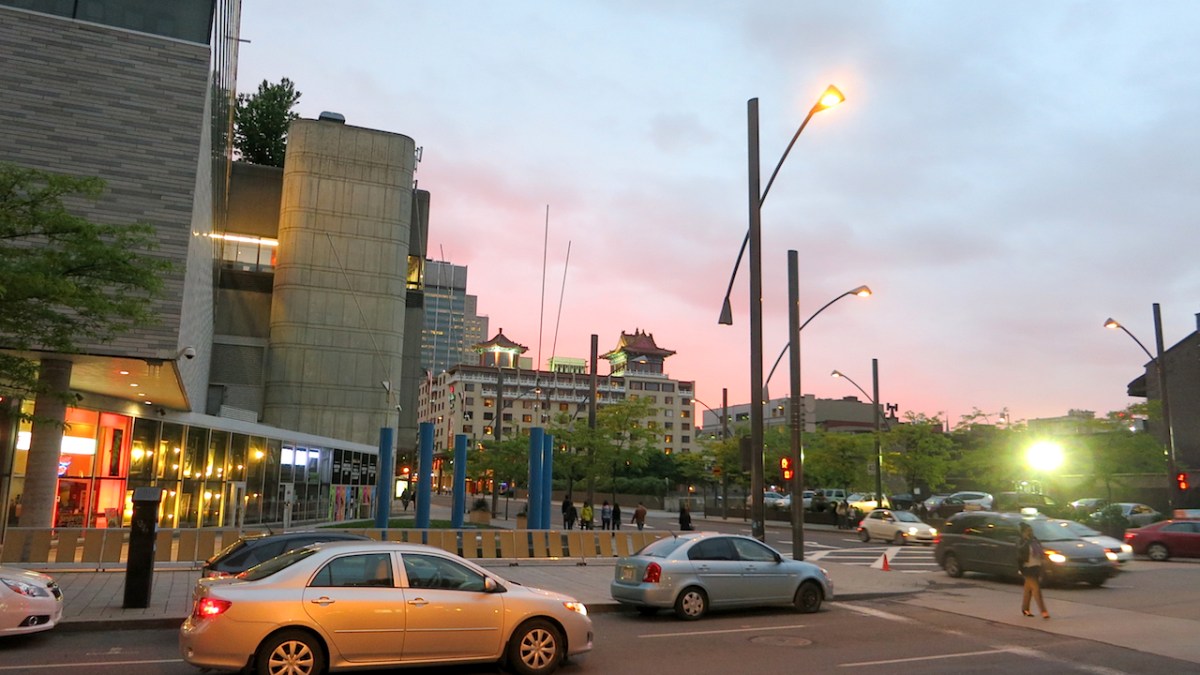
A view of Chinatown
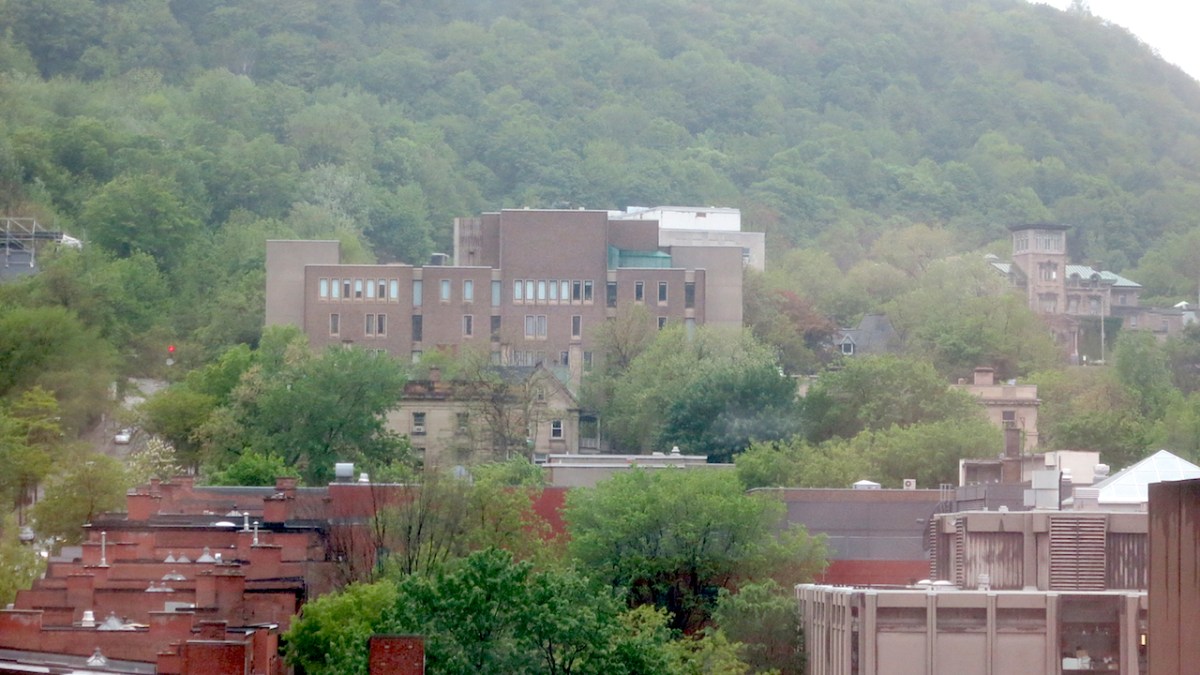
A view of McGill University
All rights reserved © 2018 Leo F. Brady


Exposure bracketing is a simple technique professional photographers use to ensure they properly expose their pictures, especially in challenging lighting situations. When you expose for a scene, your camera’s light meter will select an aperture / shutter speed combination that it believes will give a properly exposed picture. Exposure bracketing means that you take two more pictures: one slightly under-exposed (usually by dialing in a negative exposure compensation, say -1/3EV), and the second one slightly over-exposed (usually by dialing in a positive exposure compensation, say +1/3EV), again according to your camera’s light meter.
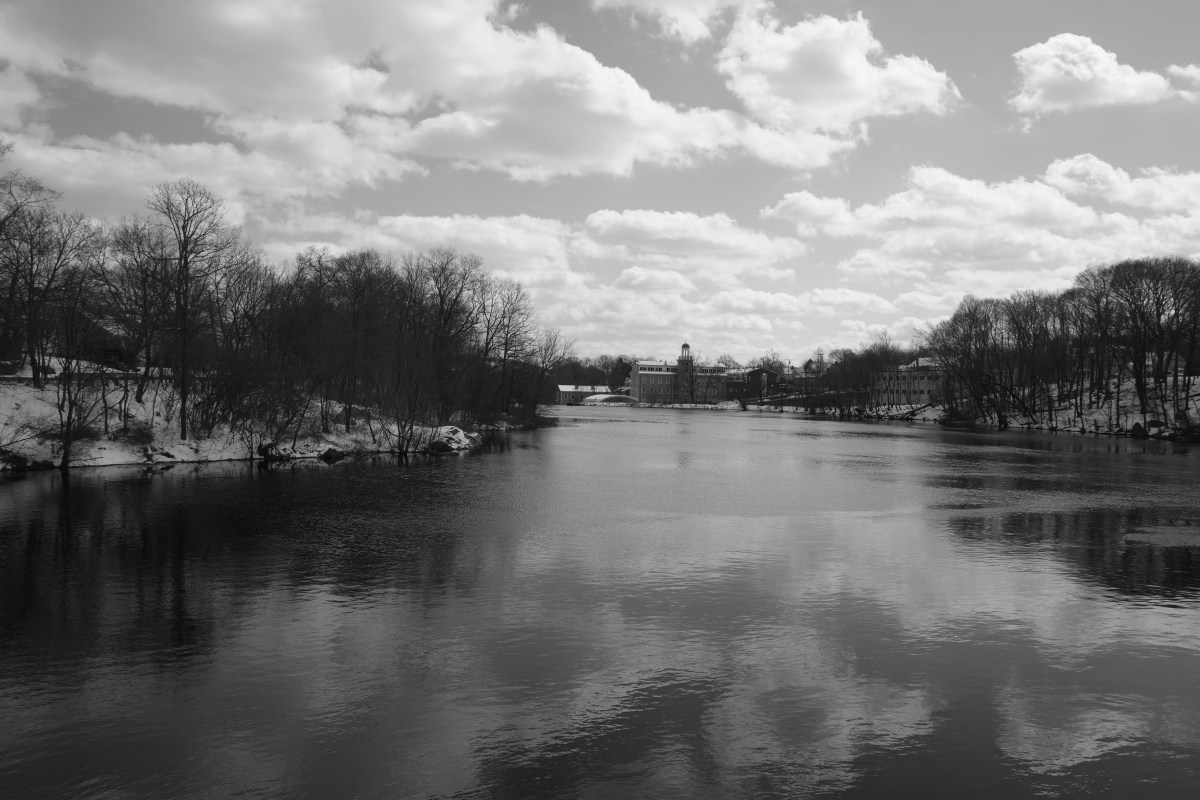
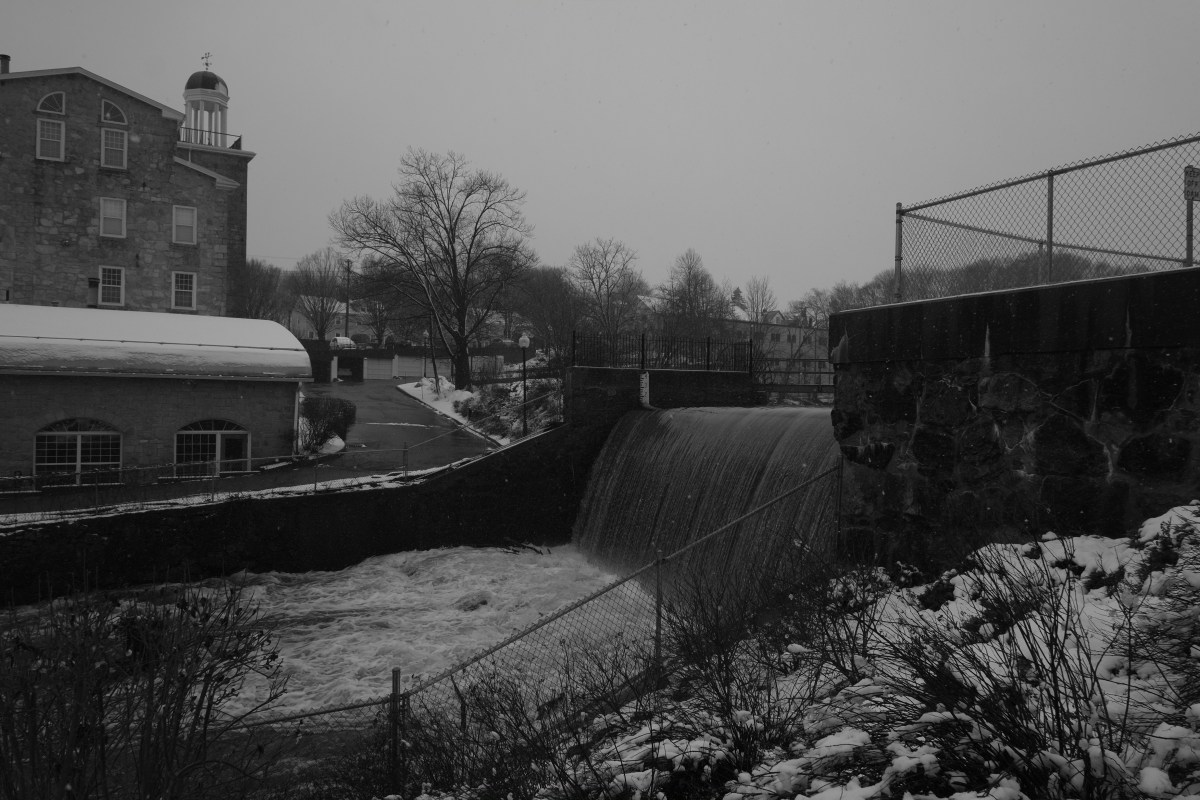
For my tests, I chose a familiar subject, Mother Brook and added some shots of the dam at Stone Mill.
https://realrealityproductions.wordpress.com/2013/03/05/stone-mill-mother-brook-dedham-ma/
I chose an auto exposure bracketing setting of 2/3, which produces an image of normal(0)EV, +2/3(+.7)EV and -2/3(-.7) EV. All these images are jpgs and have been shot large. I also shoot raw. I’m looking for a certain balance of grays and a deeper black from my black and white images. lb
Note: One thing that I never really thought about, with respect to auto exposure bracketing is how the images are shot by the camera (i.e. were three separates images with three different exposure settings produced or did the camera use the same image and somehow produce different exposure settings with the data from the one image, three times?). The camera produces three separate images which are three different moments in time. The image differences are indistinguishable in a static scene but not in a scene with movement. You can see this with the snowflakes in the second series of shots.
Example #1
It was a clear, sunny day. This set of three images below is a good example of what you can expect in good light from the Xpro1 when bracketing is set as mentioned above.
 Fuji XPro1 18mm(27mm equiv.) f/13 @ 1/420s 0EV
 Fuji XPro1 18mm(27mm equiv.) f/10 @ 1/420s +0.7EV
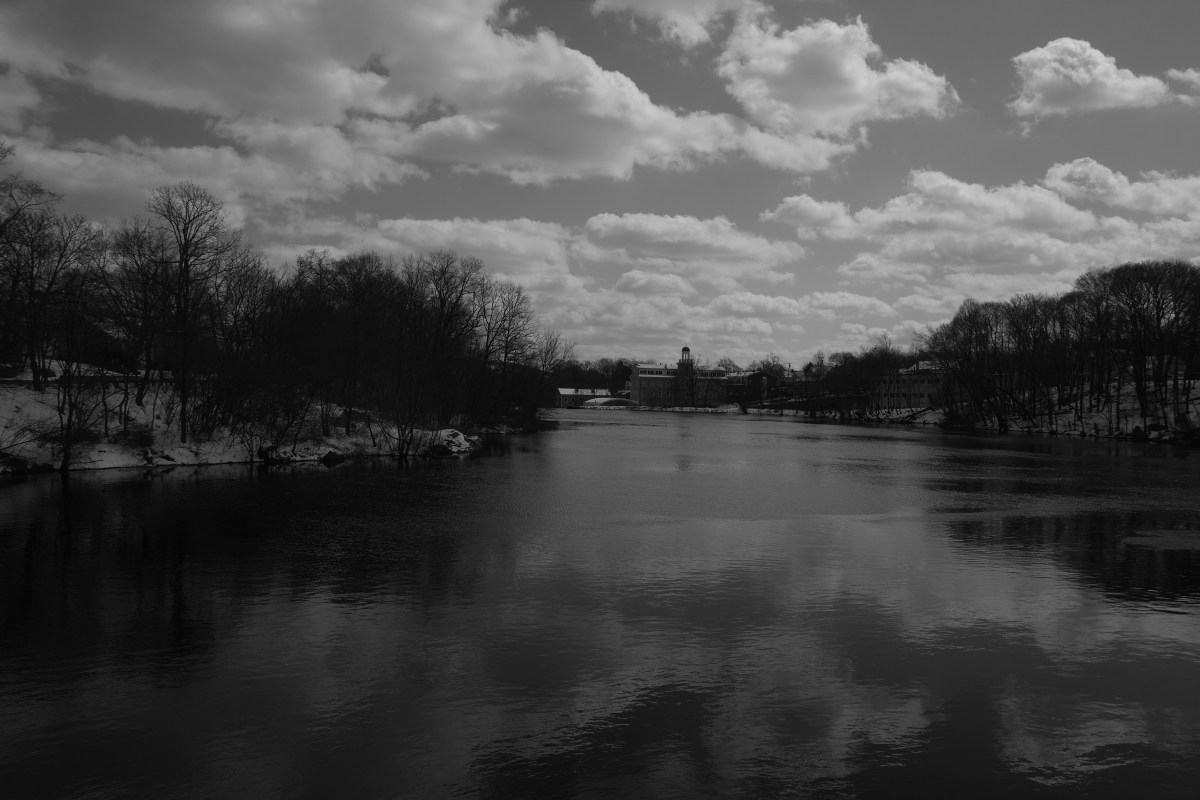 Fuji XPro1 18mm(27mm equiv.) f/16 @ 1/420s -0.7EV
Example #2
It was a gray, snowy day for this set of three images.
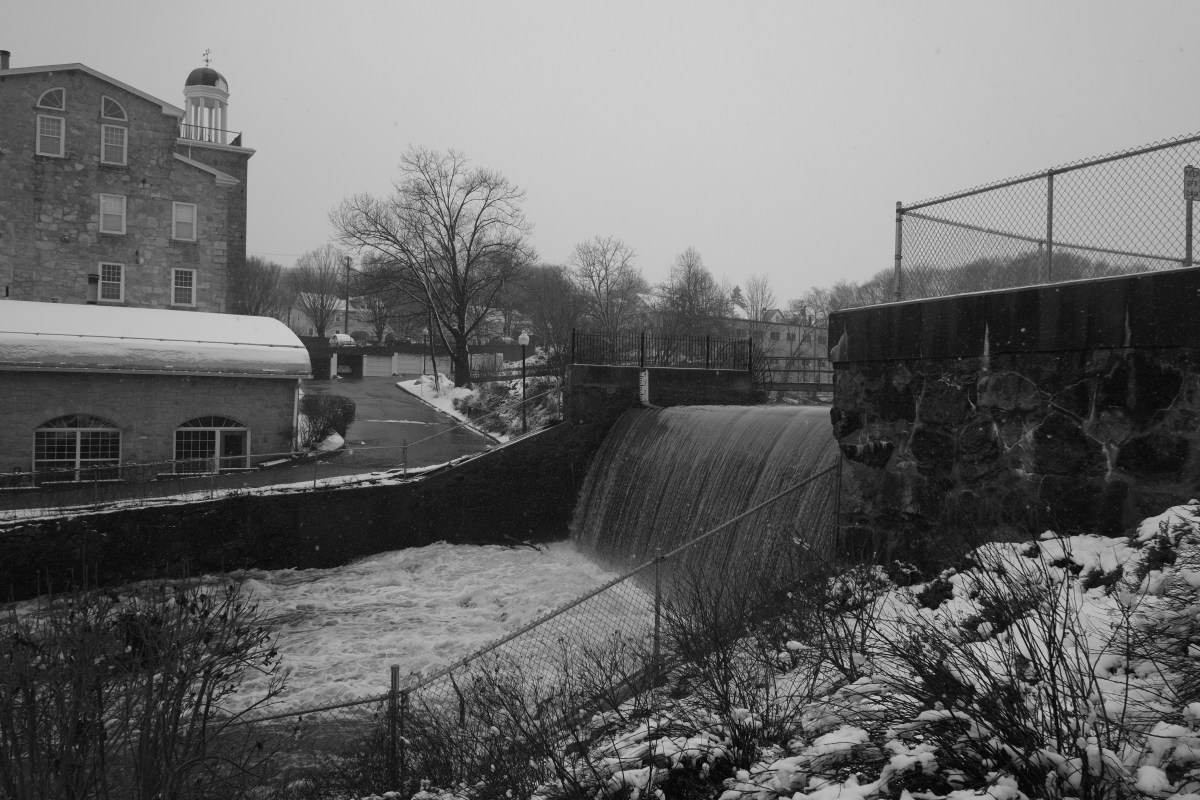 Fuji XPro1 18mm(27mm equiv.) 0EV
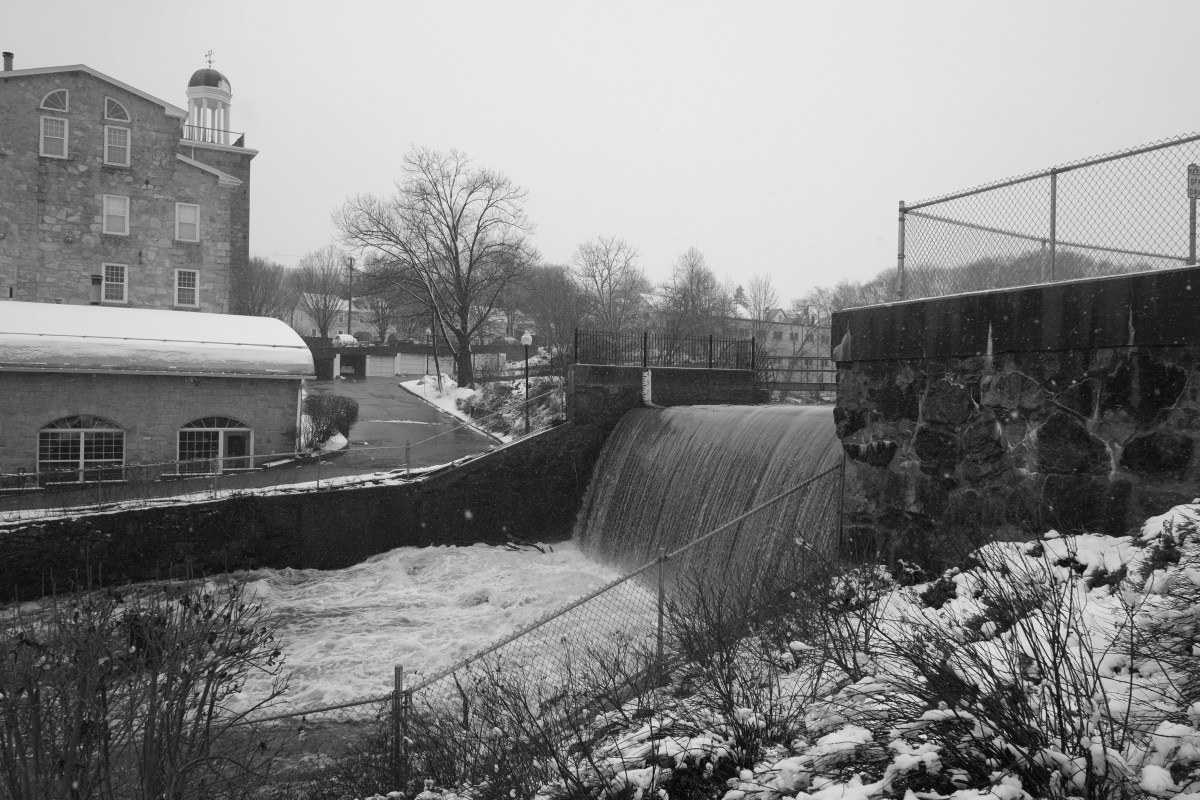 Fuji XPro1 18mm(27mm equiv.) +.7EV
 Fuji XPro1 18mm(27mm equiv.) -.7EV
More images to come from the mill complex and dam.
All rights reserved © 2018 Leo F. Brady

Below is a short, introductory tutorial for the documentarian / filmmaker / photographer on three point lighting. Lighting a subject, is often an after thought by many inexperienced media makers but it is an essential element of any production that strives for professional look. It can also be effectively used to elicit a certain style or mood.
I’ve found the setup of studio lighting the most challenging element of media production. And there is a multitude of lighting hardware to choose from, even before you begin. That said with a bit of research, patience and practice, success will be yours.
Try practicing your setup, at home or if you have control of your filming environment, setup and adjust there, beforehand.
Another great source of ideas for lighting along with other media production topics is The Filmmaker’s Handbook: A Comprehensive Guide for the Digital Age by Steven Ascher, Edward Pincus

just change… ;-)


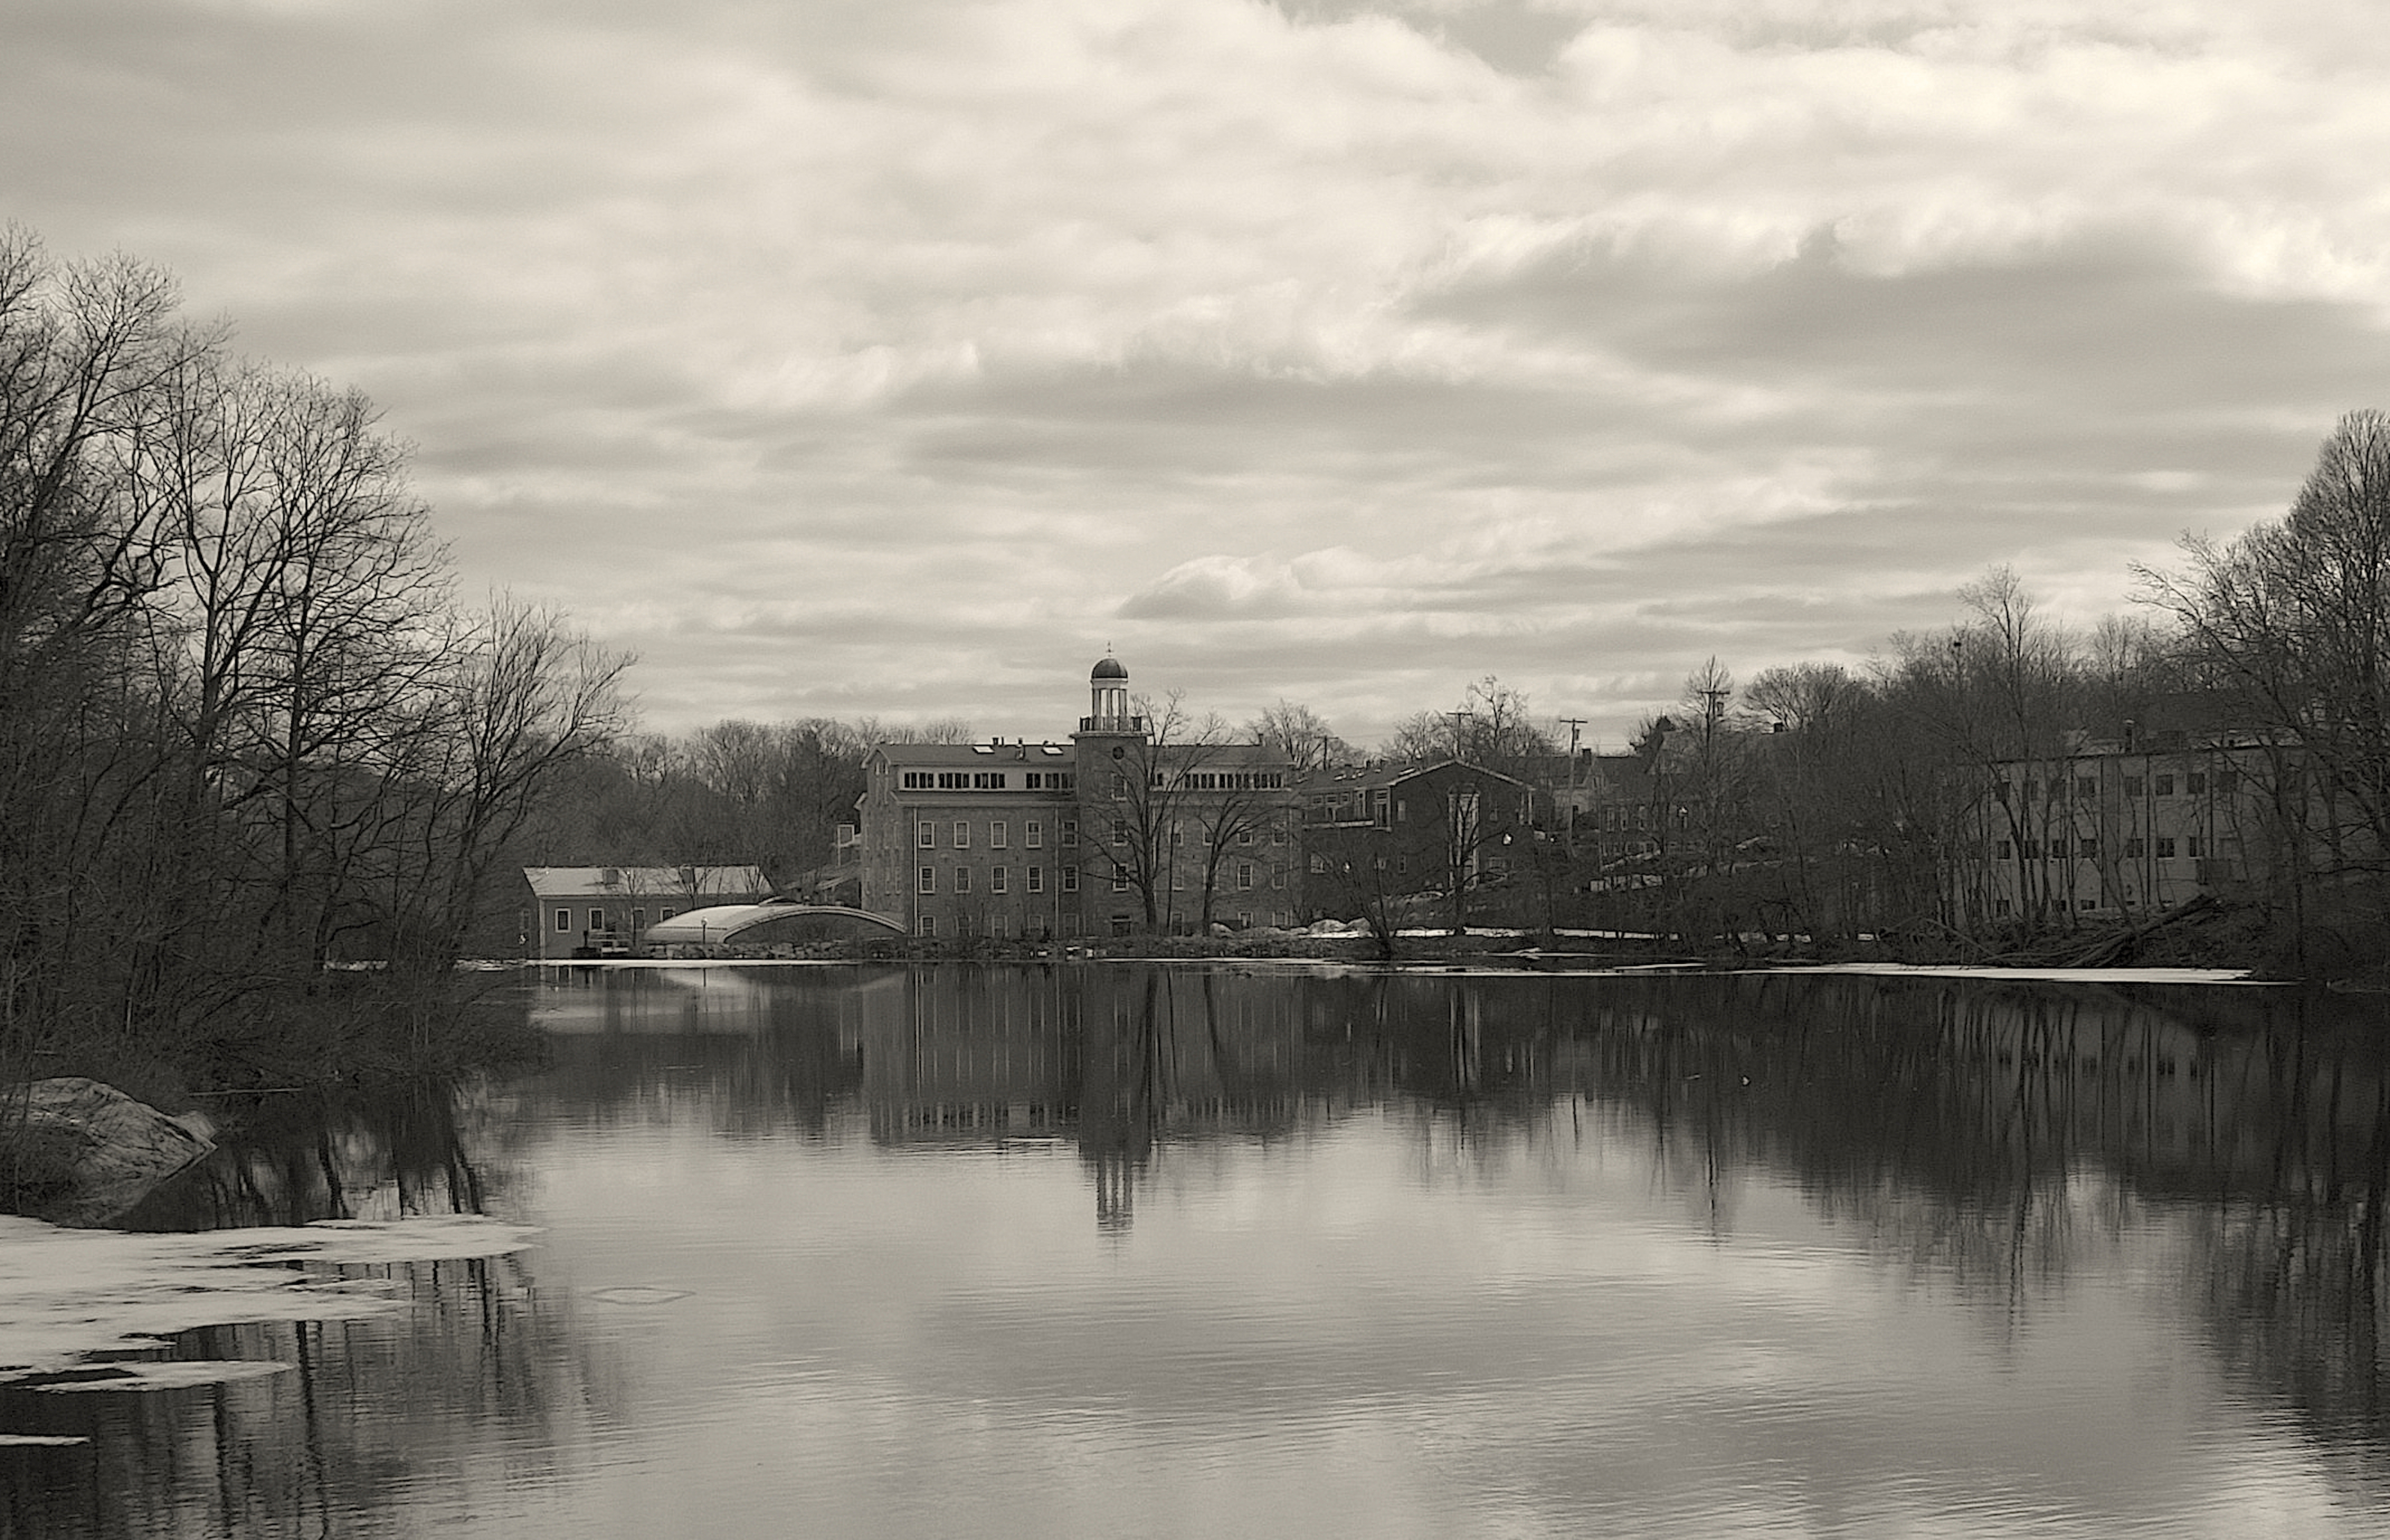
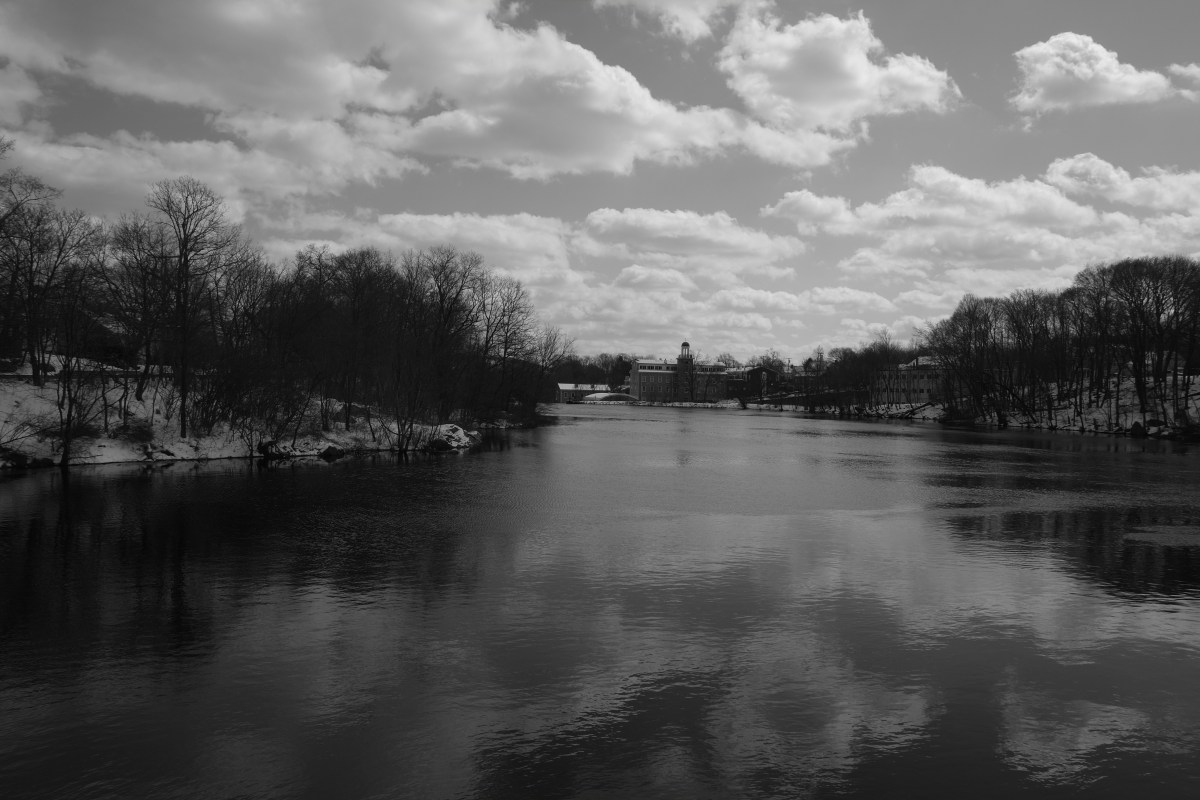
The Fourth Privilege – Stone Mill and Dam at Mother Brook, Dedham, MA.
The Fourth Privilege is the fourth mill and damn built on Mother Brook. It’s fed by the Charles River. The Mill is now condominiums. You can’t see the damn from this angle but it’s on the left.
More Info:
http://www.waymarking.com/waymarks/WMDRPB_1639_History_of_Mother_Brook_2009_Dedham_MA
https://en.wikipedia.org/wiki/Mother_Brook#Fourth_privilege_2

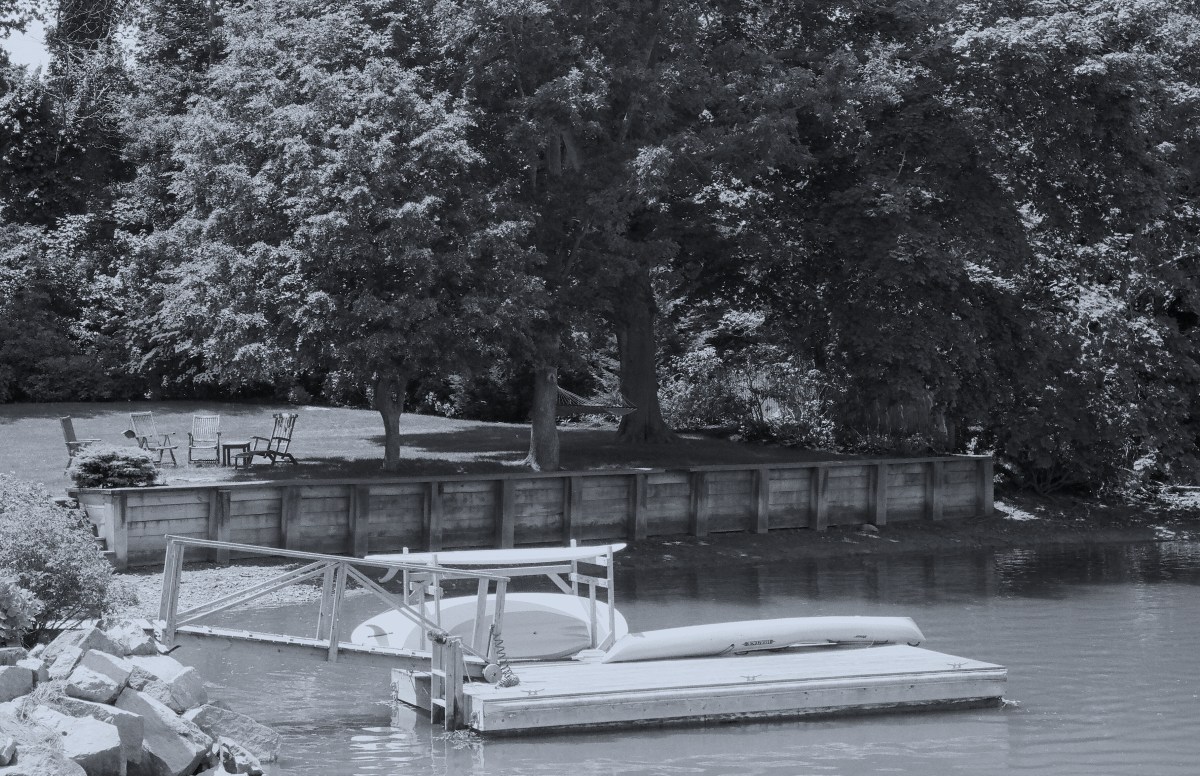
Dock at the Bluefish River Reservoir, Duxbury, MA
Shot on Kodak 100TMax film, processed and scanned digitally with minor cleanup
All rights reserved © 2016 Leo F. Brady
